3.9 | Organizing Power Query and loading data to the data model
In the previous chapters we prepared all dimension and fact tables. In this final chapter for data preparation, we want to tidy up Power Query and load the data to the data model.
3.9.1 | Tidy up Power Query
It is best practice to organize the different tables and queries in Power Query in folders. As such, it is easier to understand the ETL process for other people working on the same model or for ourselves when we have to employ a change after a while.
To create a folder (group) for tables, simply do a right-click on the table in the navigation to the left and select Move To Group → New Group.
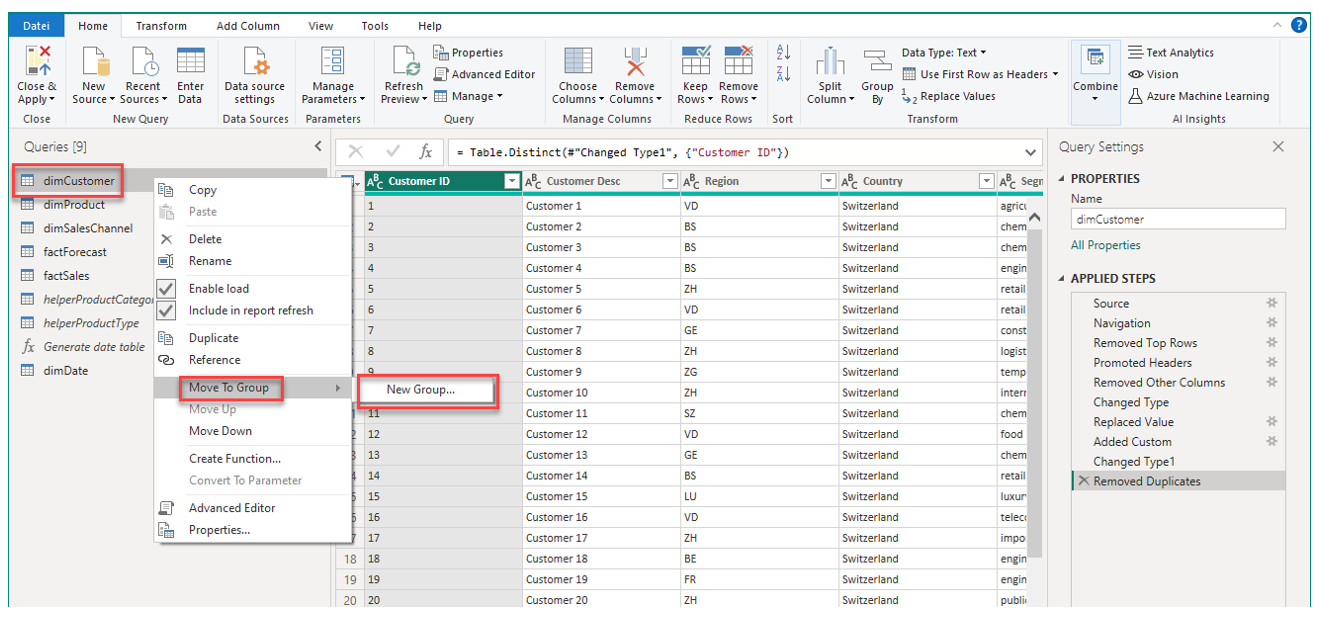
In the appearing window, enter "Dimensions" as the name of the new group and confirm with OK:

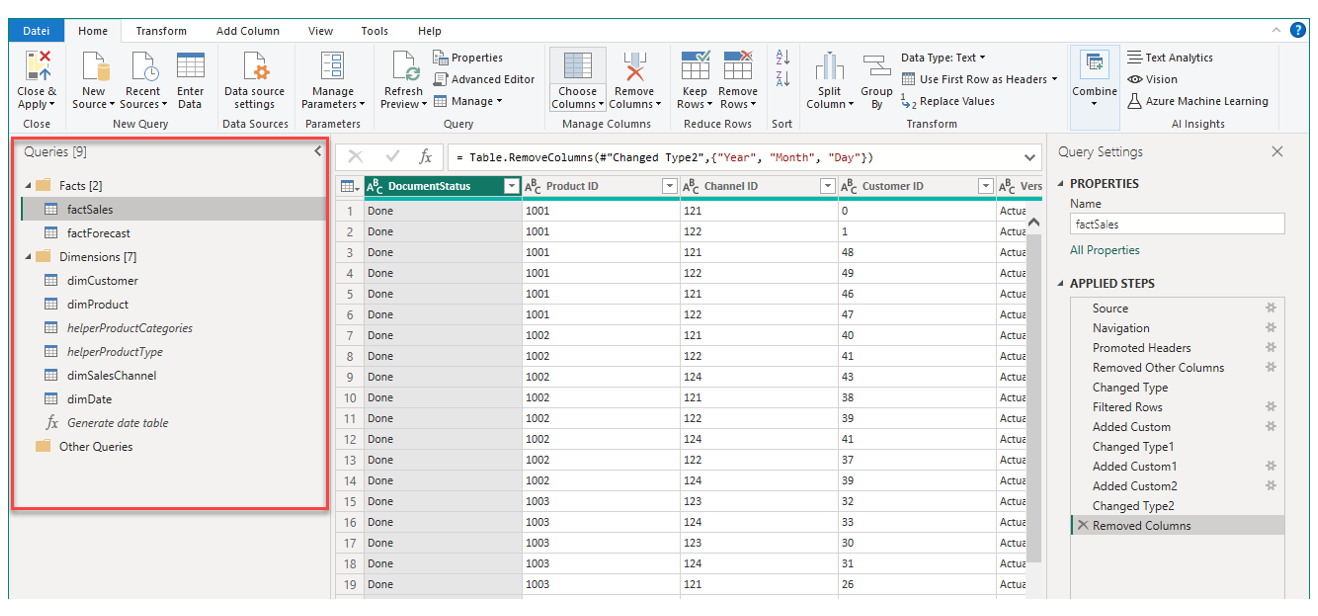
Then, simply drag-and-drop the other dimension tables (including the helper tables we used) to the same group.
Further, create a new group for the fact tables called "Facts" the same way as we did just before and make sure both factSales and factForecast are in this group. You can also change the order of the groups by simply draging-and-dropping them.
When you are done, your Power Query query navigation pane should look like the following:
3.9.2 | Create an empty dummy table to store Measures
Later, we will create Measures to reflect different KPIs with which we will build visualizations and dashboards. Each of these Measures is stored in one of the tables that are part of the data model. It is good practice in Power BI to store all Measures in a separate table.
To do that, let's create a dummy table via Home → Enter Data. In the configuration window for the new table, enter "Measures" as the column header and leave any cells simply empty. Name the table "_Measures" and confirm with OK.
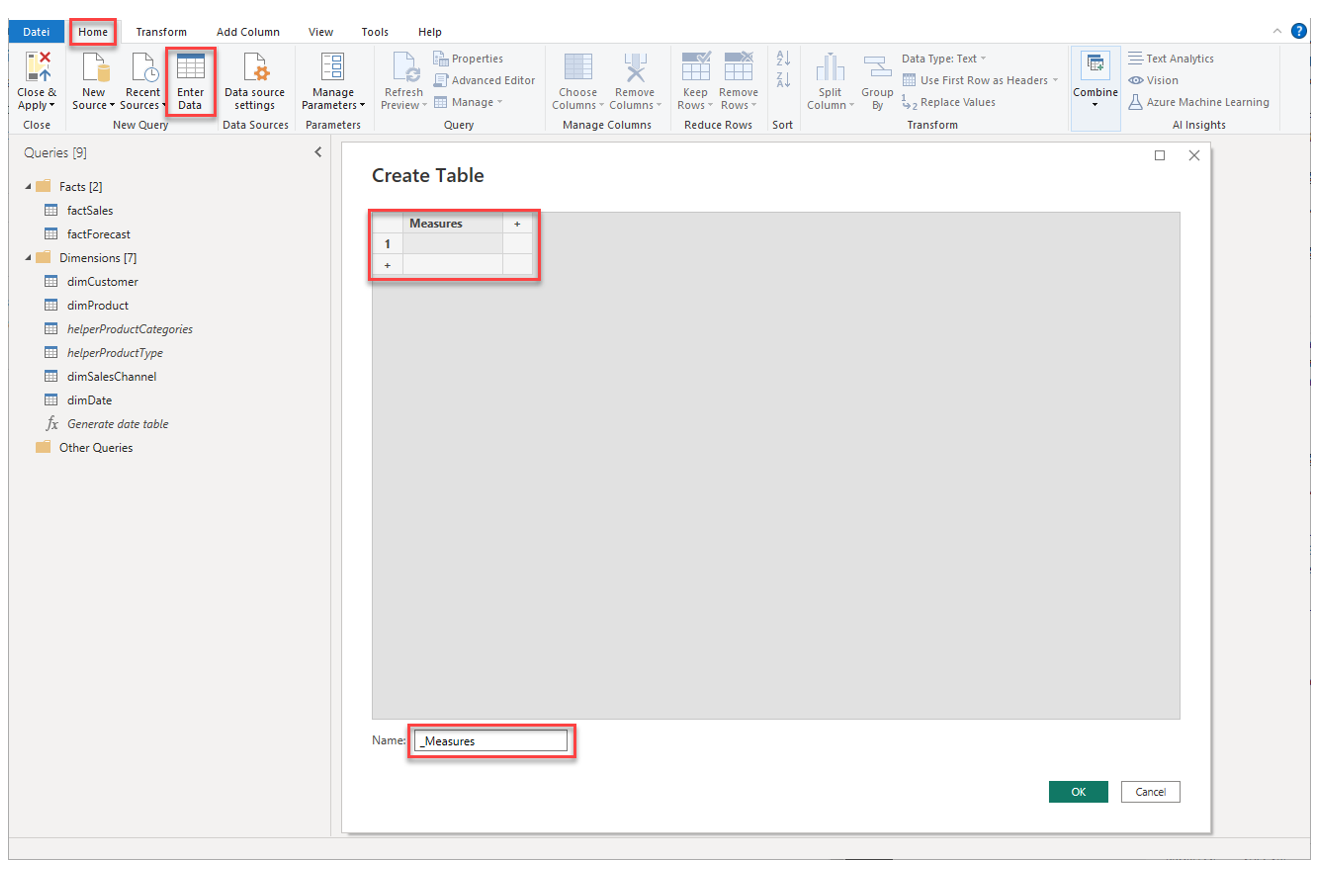
The new table should be listed in the group Other Queries.
3.9.3 | Apply changes and load data to the data model
Now we are done with the automated data preparation process and Power Query is nicely organized. As the final step of this chapter, let's apply all the changes to the Power BI data model and load the data.
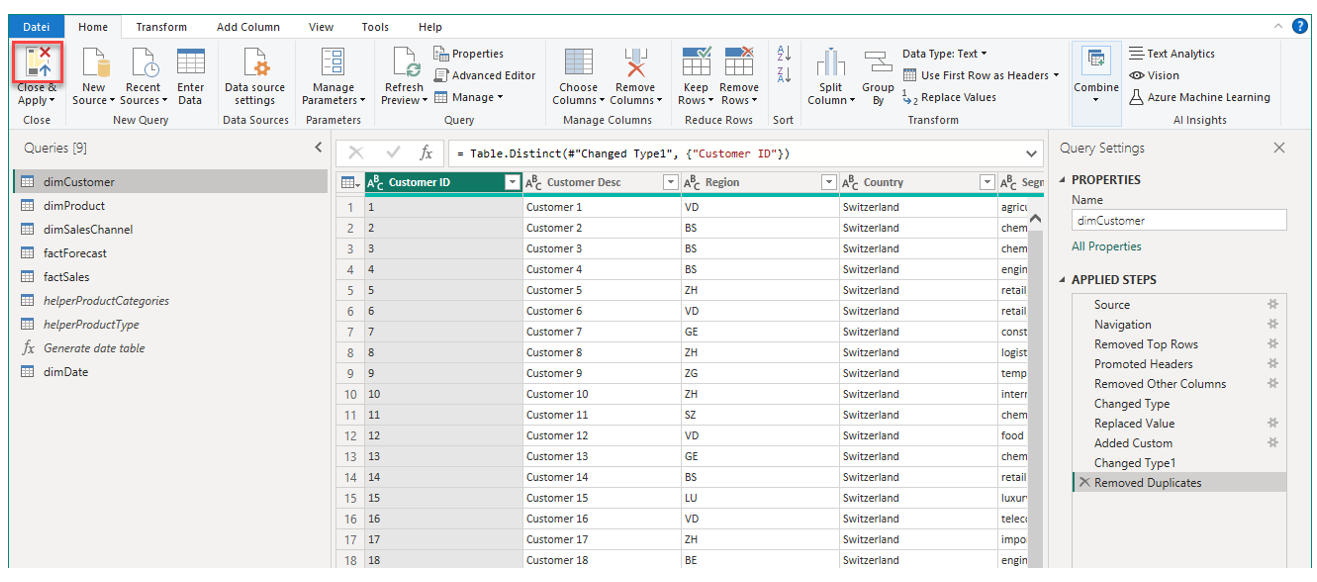
To do that, simply click on Close & Apply in the top left corner. After clicking the button, Power Query will load all data to the Power BI data model. In a small appearing window, you can see the progress of the data load. Because the amount of data is comparably small, it should run quite fast.
Please note, any changes done to the tables in Power Query have to be applied via this button to the Power BI data model in order for them to take effect.